In
Pimp Your Craters Part One we left off at step two, having textured the topside of the craters. This is part two.
Step 3 - hide the ugly flange: This step was straight forward. I coated the flanges with PVA glue and added some larger rocks from model railroad talus, and then filled the rest of the area with model railroad medium ballast stones. These photos are after drying overnight.
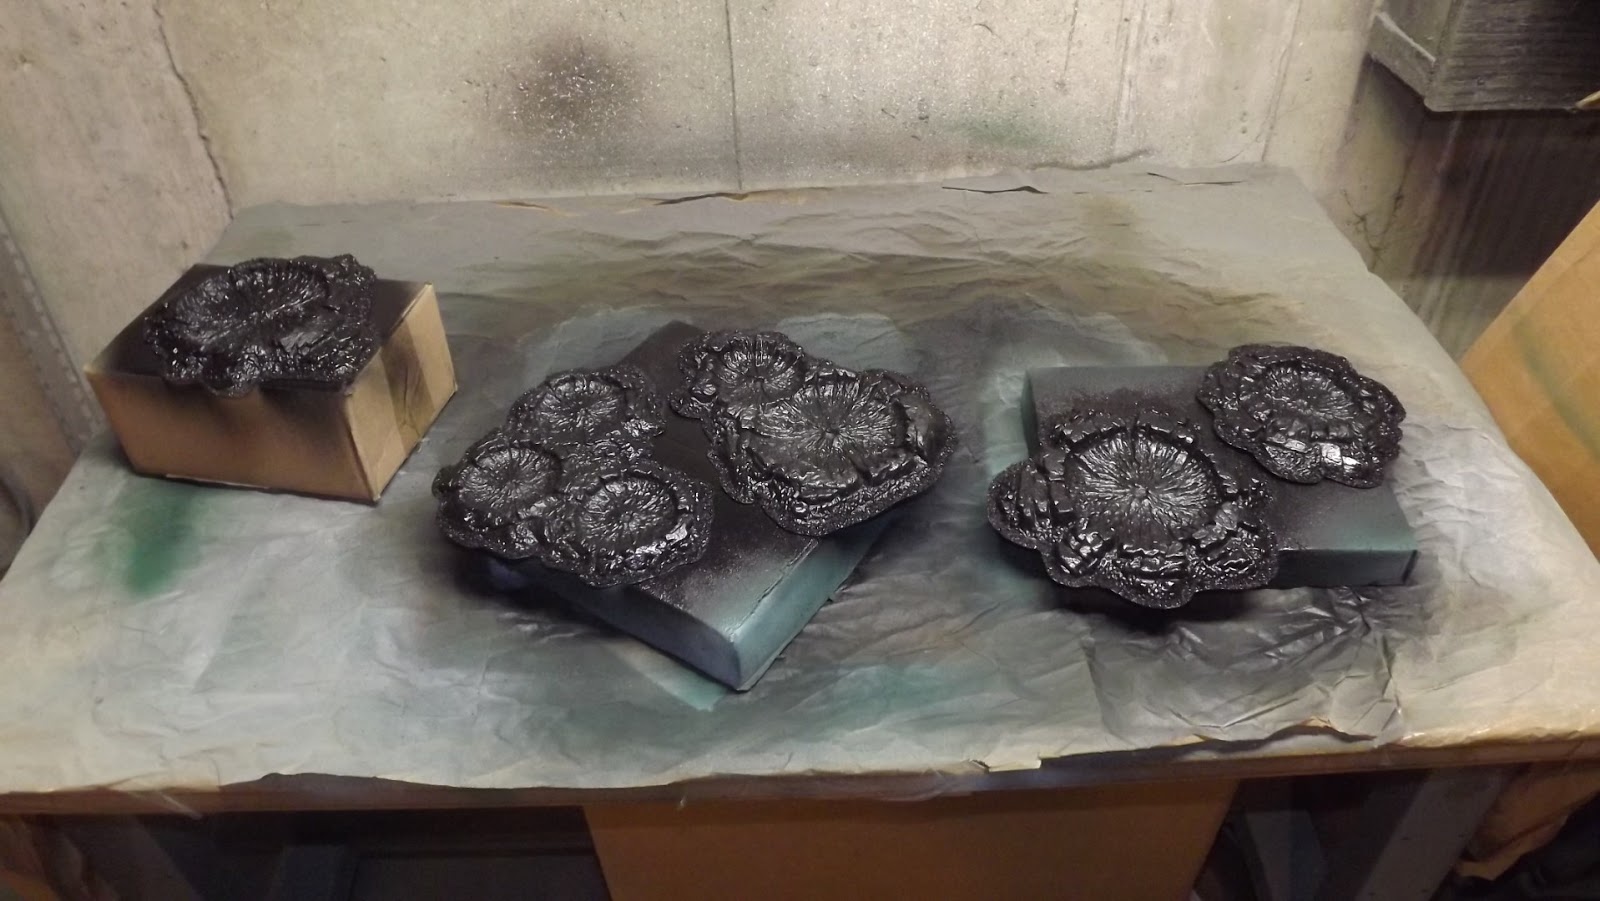
Step 4 - prime black: To get a uniform coloring I primed the whole set in matte black primer.
Step 5 - over spray earth brown: This was done using a mix of brown rattle can spray paints. Photographed while this paint was still wet.
Next up in part three, detail painting with brushes by hand.


2 comments:
Good stuff, AJ!
Good work fella. Looking forward to the finished article. I did some posts on craters and shelled ground for 6mm. Not as detailed as yours obviously - just more of them!
Post a Comment