Yesterday we got together to do a full scale test for our Pirate Game that we'll be having at the club in October. Michael and I did a test earlier using tabletop miniatures, but we wanted to make sure the movement and shooting ranges would work with the full size models in a room so we got a group of Northern Conspirators together to do a play test in my garage.
Since we only had seven testers plus Michael as the GM we scaled down to only three Islands and had a column in the middle of the garage take the place of the government ship. The play test went well and we were able to iron out the last of the small details for the game in October. The October game looks like it's going to be a great one.
Thanks to Michael for running the play test, Ross's wife for the delicious apple bread and everyone for helping testing. My friend and fellow blogger Mark D was at the play test and has posted even more photos and a write up over on his blog.
Sunday, September 28, 2014
Saturday, September 27, 2014
Electronic Brigadier - 5th Play Test
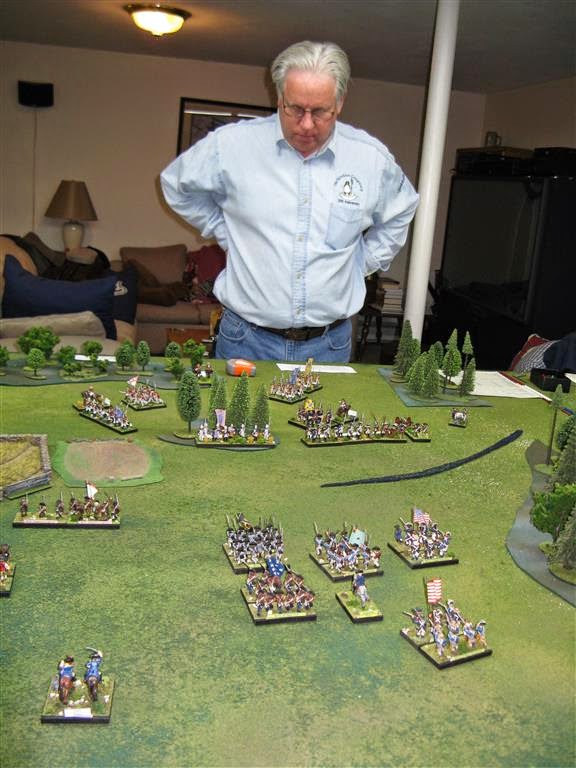
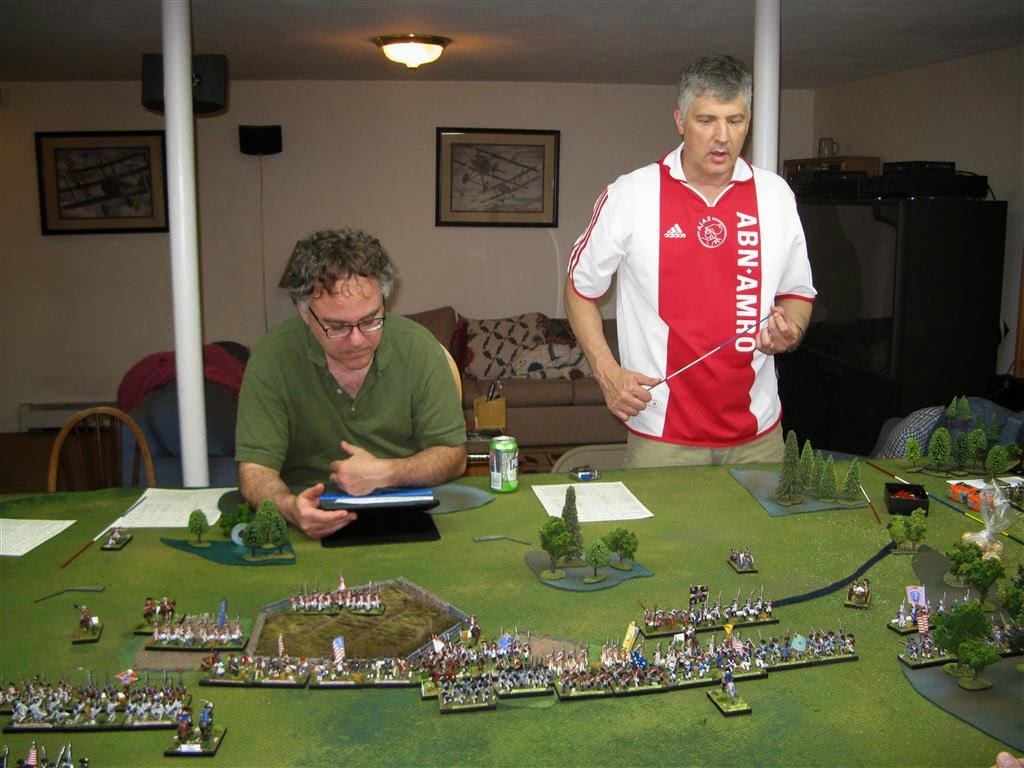
Tonight we got together for another round of The Electronic Brigadier and my venerable Freeman's Farm scenario. Helping me play test the rules were Byron, Ralph, Phil and Owen. Since Owen was new to the rules I played with him and Phil on the American side while Ralph and Byron chose the British as last time they were both Americans.
Since the last play test I've cleaned up a lot of the smaller problems in the programming and adjusted the casualty and morale calculations based on previous play tests and feedback from the players. Tonight's game seemed to be the best yet and may be the end of any significant adjustments in those calculations. We identified a couple smaller problems that will be addressed before the next play test.
For the game Byron led out with his right wing, the cream of the British forces. Byron quickly attacked Moran's rifles who surprisingly held. On the other Flank Ralph deployed the Hessian artillery and infantry in a solid line with the artillery on his left flank. The pain train for Poor's brigade began as the guns started their work.
In the center the militia were swept away early by the British simply through a few volleys of fire. The militia would eventually rally but too late in the battle to be a serous factor.
Owen used Learned's brigade to good effect eventually turning away the British and Hessian light units and finally the 24th foot. Honors for the game definitely went to Learned's brigade. On the Hessian flank Poor's brigade eventually lost both New York battalions and one New Hampshire. Although it looked like Poor's brigade was to be swept from the field the same could be said for the British advanced wing, a much higher cost. All in all a tangible American victory, but well fought and close until the end.
The game end statistics:
Left, Owen entering Byron's British moves. Right Phil entering Ralph's British Moves.
Left, the British, Byron and Ralph. Right, the Americans, Phil and Owen.
Since the last play test I've cleaned up a lot of the smaller problems in the programming and adjusted the casualty and morale calculations based on previous play tests and feedback from the players. Tonight's game seemed to be the best yet and may be the end of any significant adjustments in those calculations. We identified a couple smaller problems that will be addressed before the next play test.
For the game Byron led out with his right wing, the cream of the British forces. Byron quickly attacked Moran's rifles who surprisingly held. On the other Flank Ralph deployed the Hessian artillery and infantry in a solid line with the artillery on his left flank. The pain train for Poor's brigade began as the guns started their work.
In the center the militia were swept away early by the British simply through a few volleys of fire. The militia would eventually rally but too late in the battle to be a serous factor.
Owen used Learned's brigade to good effect eventually turning away the British and Hessian light units and finally the 24th foot. Honors for the game definitely went to Learned's brigade. On the Hessian flank Poor's brigade eventually lost both New York battalions and one New Hampshire. Although it looked like Poor's brigade was to be swept from the field the same could be said for the British advanced wing, a much higher cost. All in all a tangible American victory, but well fought and close until the end.
The game end statistics:
British Forces
| American Forces
|
Left, Owen entering Byron's British moves. Right Phil entering Ralph's British Moves.
Left, the British, Byron and Ralph. Right, the Americans, Phil and Owen.
Thursday, September 25, 2014
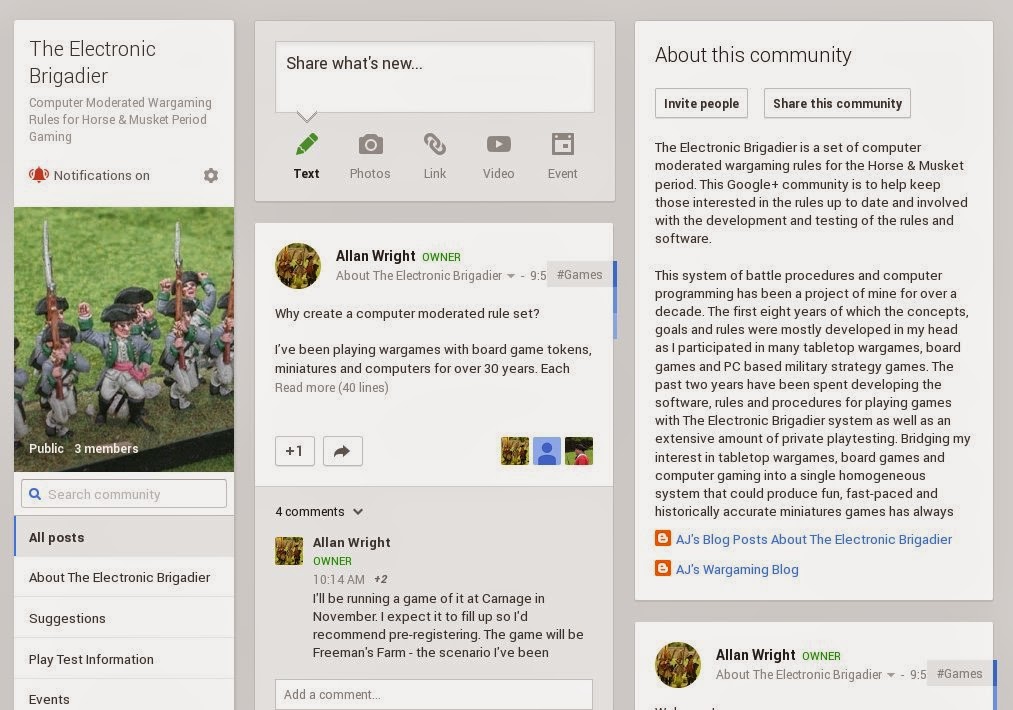
The Electronic Brigadier Community on Google+
For those of you interested in keeping up to date on my computer moderated horse & musket period wargaming rules, I've created a Google+ community for it. You don't have to be a Google+ member to bookmark or read the site. If you are a Google+ member you can also comment and share on the community. Feel free to view or join at: https://plus.google.com/communities/118427920128595993643
Tuesday, September 16, 2014
28mm Ancient Gaul Cavalry (3)
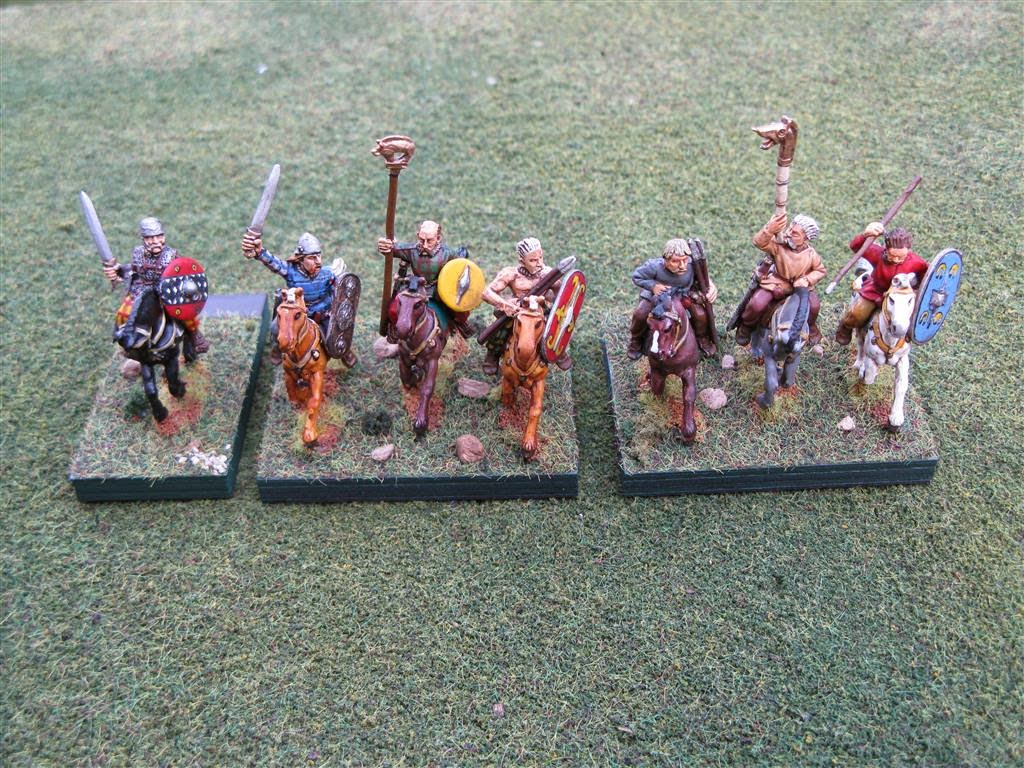
These are two bases of Gaul cavalry and an officer that I picked up on Ebay. They were reasonably priced and nicely block painted. A couple of the figures had a decent wash on them. All of them suffered some damage in shipping. I took the liberty of touching them up, doing some small changes to better match my style and then I gave them all a uniform army painter wash with a thinned wash to not overdue it.
The officer is based like my other ancients officers, with a magnetic strip at the back. The two combat stands will be used to extend one of my other four stand units to a six stand unit when playing Field of Glory. For Hanibal at the Gates these two stands will each be another HATG cavalry unit. You can never have enough Gauls!
Labels:
28mm,
Ancients,
Carthaginian,
Field of Glory,
Figures,
HATG
Monday, September 15, 2014
September 2014 Game Night
I played the bad guys, commanding a squad of Volksgrenadiers tasked with defending against the American attack. While I had some early success, I ended up losing one of my squads in an attack that got blunted by defensive American fire, then later obliterated by defensive fire from a second American unit. I did end up eliminating my opponent's defending squad, but a 1:1 trade isn't really defending efficiently. Lesson learned, assaults in Bolt Action are costly and should be saved for moments of desperation. In the end my teammates carried me and the Germans won a narrow marginal victory eliminating 4 US squads while losing three.
Charlie ran a large game of his home rules, Napoleon's Rules of War which was well received and entertained eight players.
Peter ran a 15mm War of Spanish Succession game that had nine players and a ton of figures.
Wednesday, September 10, 2014
28mm Spanish Scutarii (2)
This is the last of the Spanish Scutarii I had to paint up for my 28mm Carthaginian army. These are wearing assorted randomly-colored 'on campaign' tunics without the characteristic Spanish striping. The shields are again hand painted, with the exception of the officer's hoplon which is a decal. I mixed up the geometric patterns on the shields of this unit which I believe is more historically accurate.
These figures, like the last unit, are a mix from the Old Glory Scutarii pack and the Old Glory Caetreti pack. The latter I feel is what gives the unit a proper Spanish look. Originally I was going to paint this unit as a pair of small Hanibal at the Gates units, but when I finally inventoried all of my unpainted lead I was able to scrape up enough figures for a whole six-base Field of Glory battle group. The final (blurry) photo below is how the unit will be deployed in Hanibal at the Gates; as three soldier units.
Labels:
28mm,
Ancients,
Carthaginian,
Field of Glory,
Figures,
HATG,
Spanish
Saturday, September 6, 2014
Electronic Brigadier - 4th Play Test
Last night a bunch of my friends came over for another play test of Electronic Brigadier. In order to keep the variables to a minimum we're continuing to use my hypothetical First Saratoga (Freeman's Farm) scenario. This is the historical British order of battle, but I allow the German left wing to arrive at the start of the battle instead of getting lost. To counter the extra troops the British have I bring Learned's Massachusetts brigade down from Bemis heights and allow them to fight. Since they were engaged at the second engagement it seems logical to me that Gates could have sent them down. This makes a nice six person game and although the battalion count is fairly close, the British quality and presence of a large number of militia units allows the British to attack.
I've made extensive changes since the last play test. Many were improvements, but I still have some adjusting to do in regards to units resilience. I've tuned the casualties more towards historically accurate numbers, but in doing so the morale system fell a little out of adjustment. Now that I'm done adjusting the combat numbers morale should fall into place relatively quickly.
The battle was still in question when we called the game. The British left wing was having a good deal of success pushing back Poor's brigade, but the British Right wing was fairing less well against Learned's brigade. In the center the militia and Dearborn's light battalion were being pressed by the British regulars but doing so in good order. Morgan's rifles held up the British elites for a while but eventually were brushed away and were reforming in the rear.
For fun, after we called the battle we ended up with the following statistics:
British Forces
- Army cohesion: 62.8%
- Total Casualties: 348 / 3512 (9.9%)
- 1 units dispersed
- Army cohesion: 75.1%
- Total Casualties: 268 / 3525 (7.6%)
Subscribe to:
Posts (Atom)